

Browse documentation
How to send push notifications with Klaviyo
Sending push notifications with Klaviyo is easy, in this guide we will go through each step of the process.
The first step is to login to your Klaviyo account, here: https://www.klaviyo.com/login
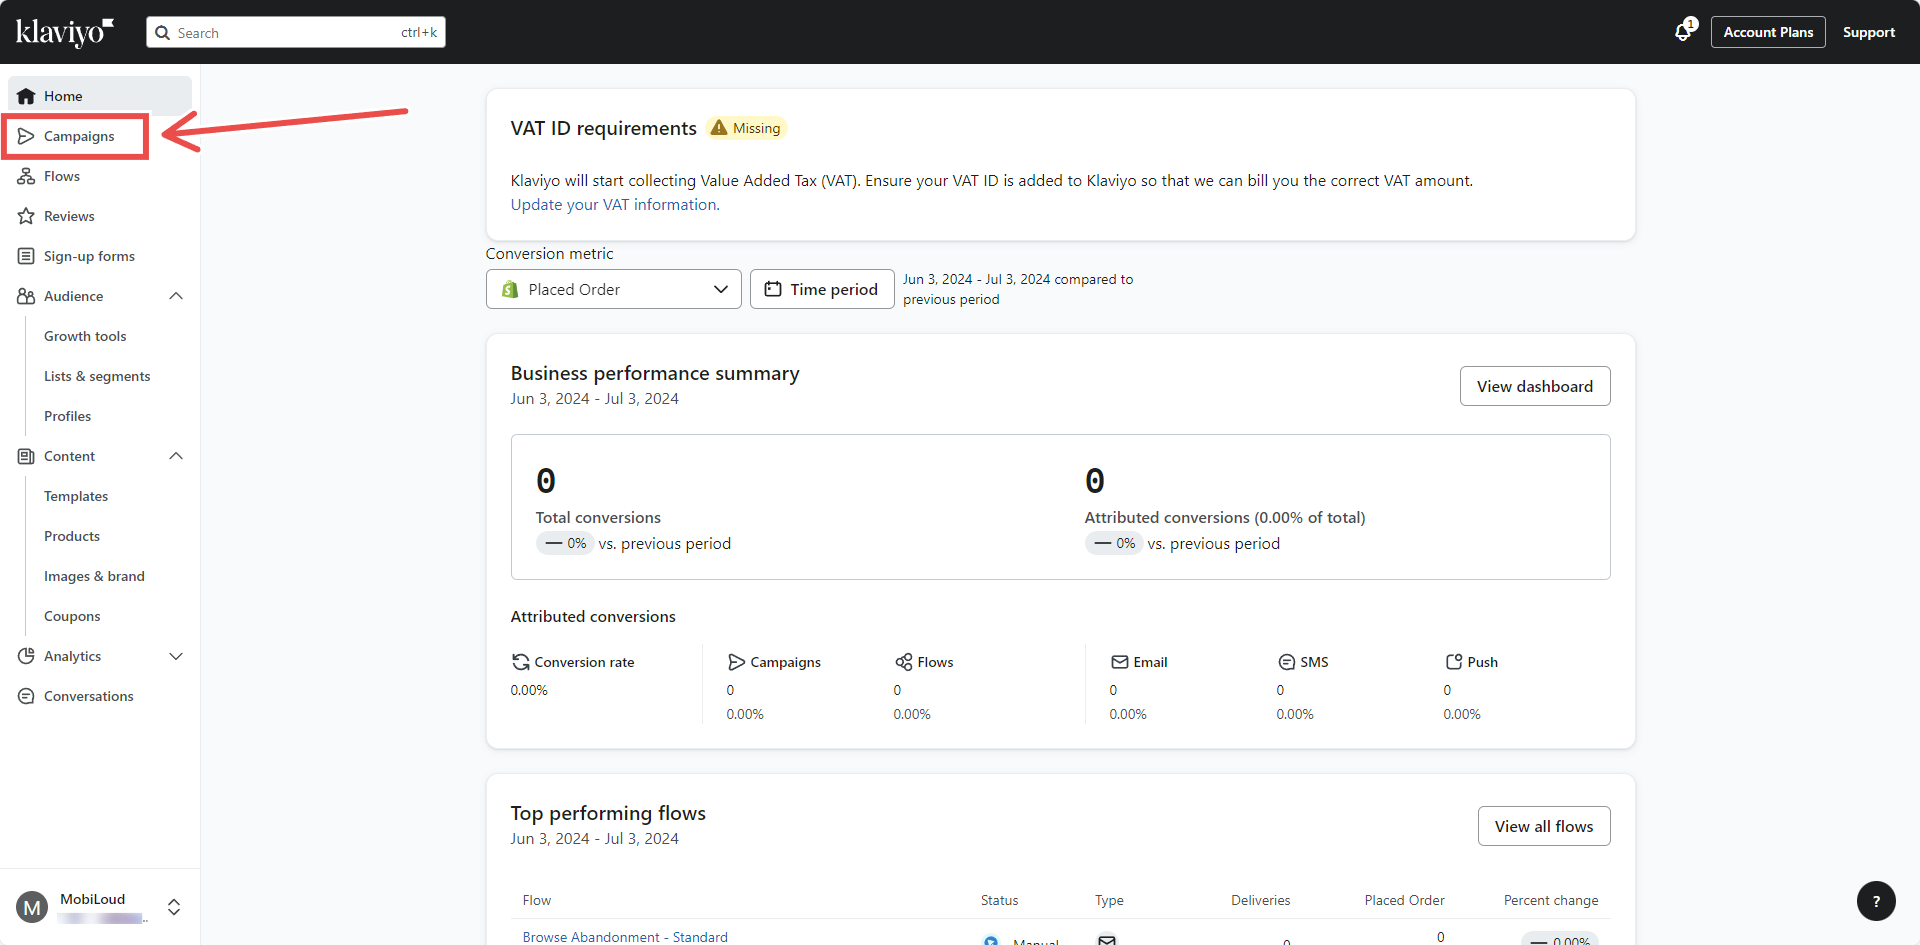
In your account dashboard, click on "Campaigns" in the left sidebar:
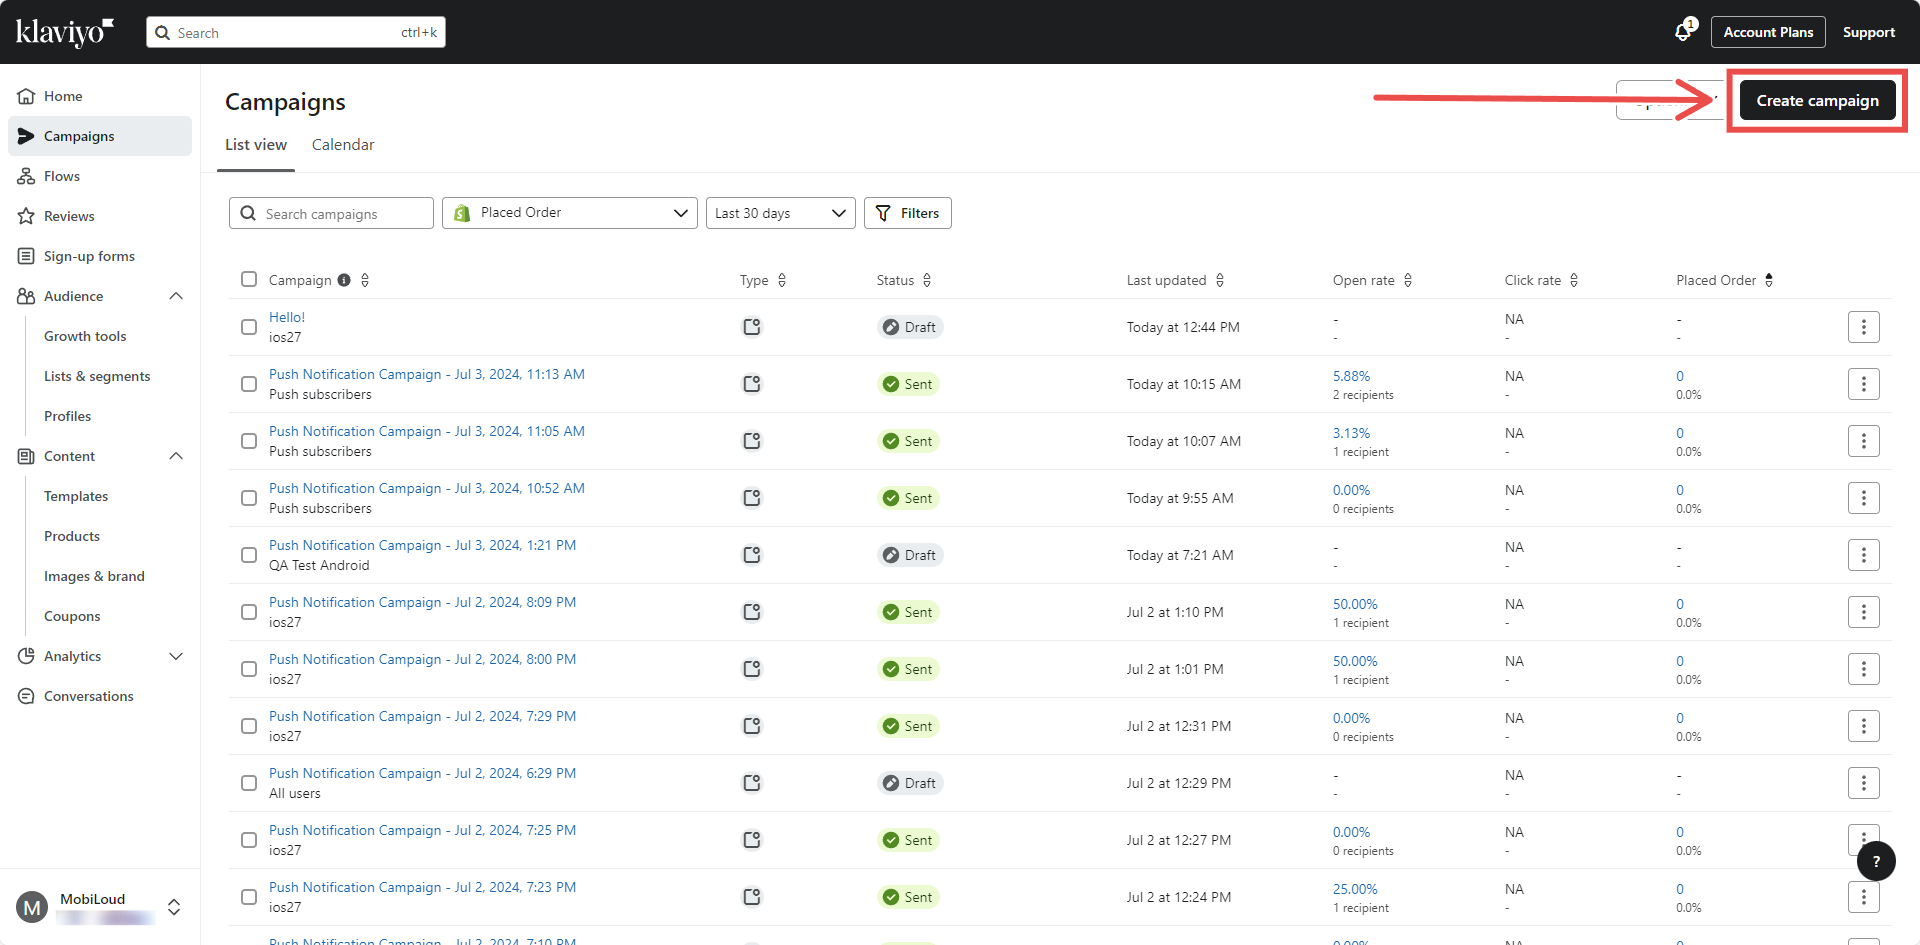
Click on "Create Campaign" on the top right area:
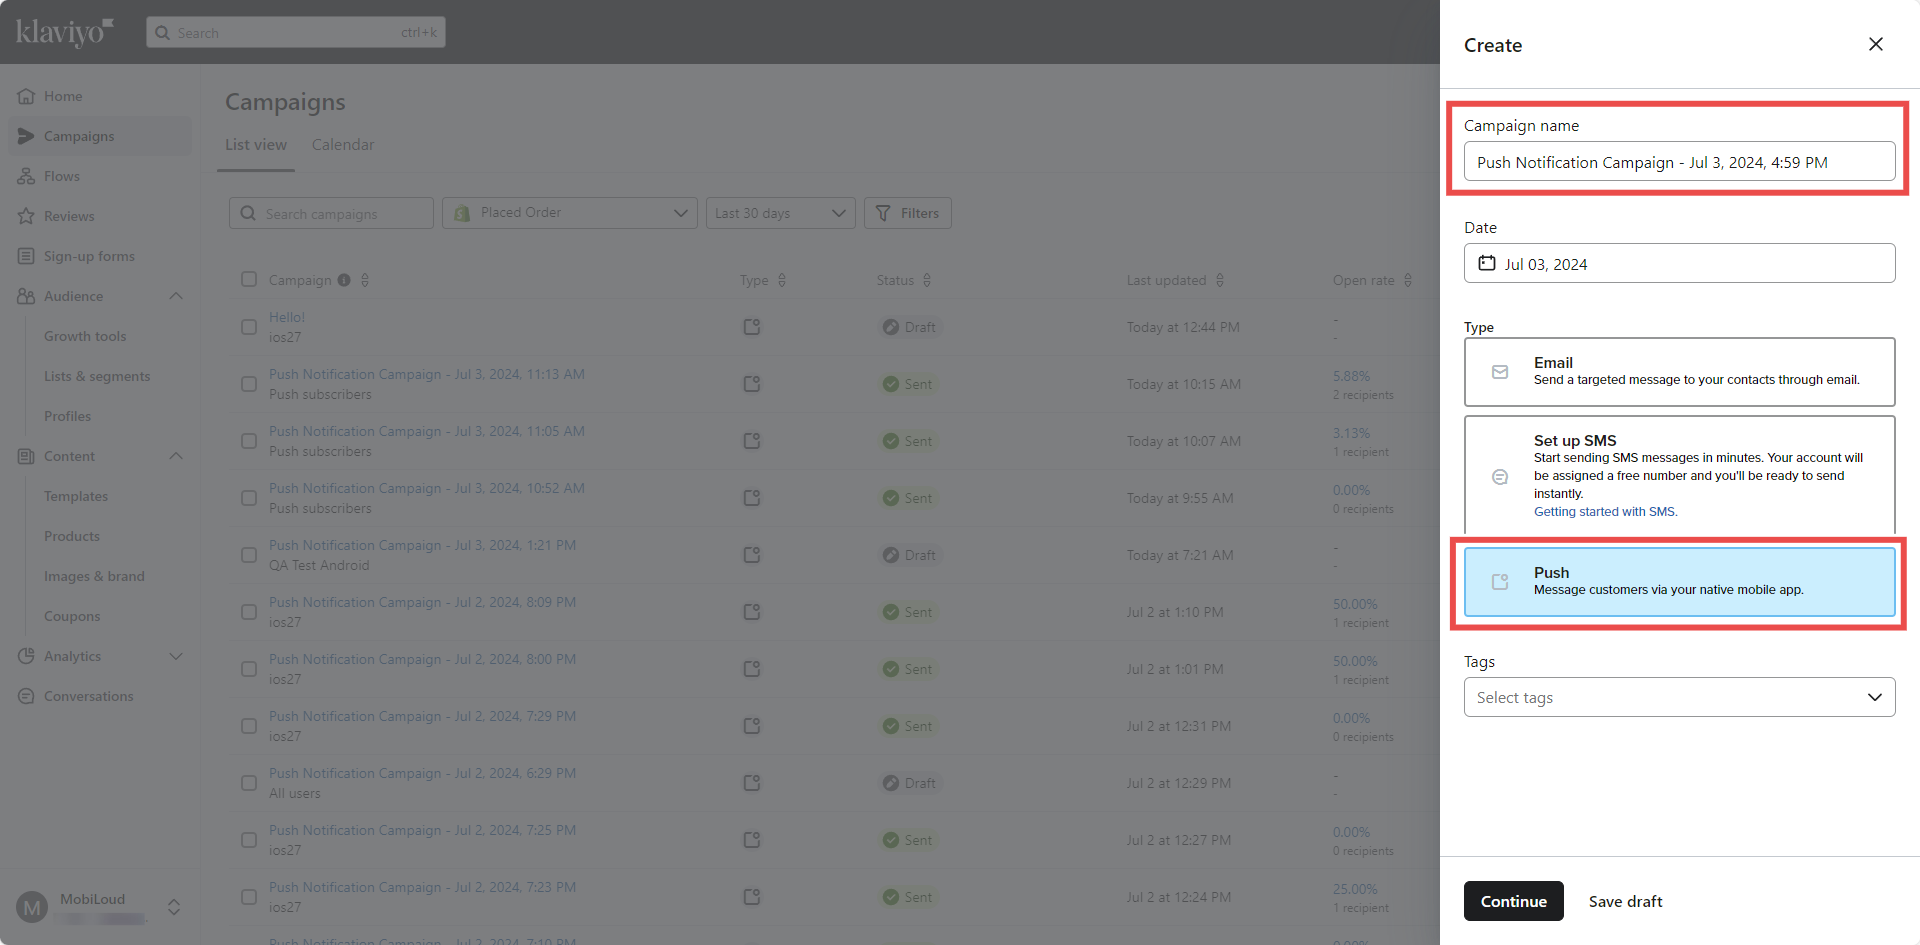
Add a name for your campaign, select "Push" as the campaign type, and click "Continue":
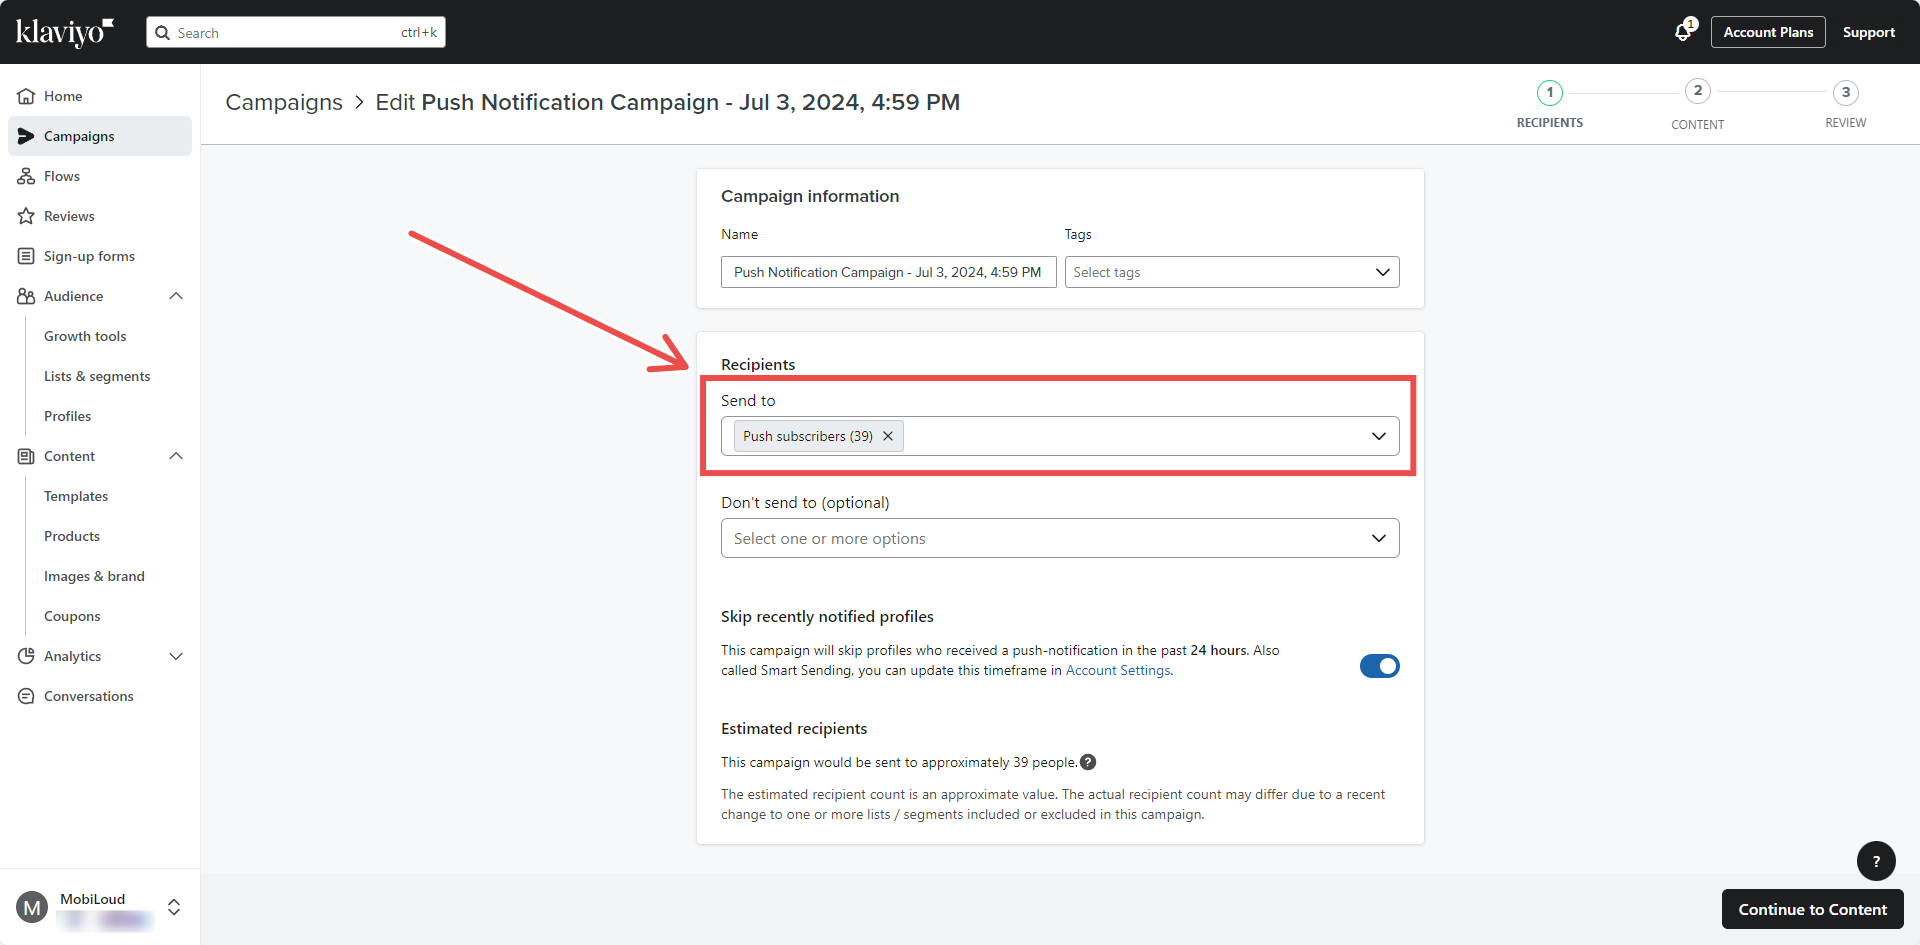
Select a list or segment who should receive your notification and press "Continue to content":
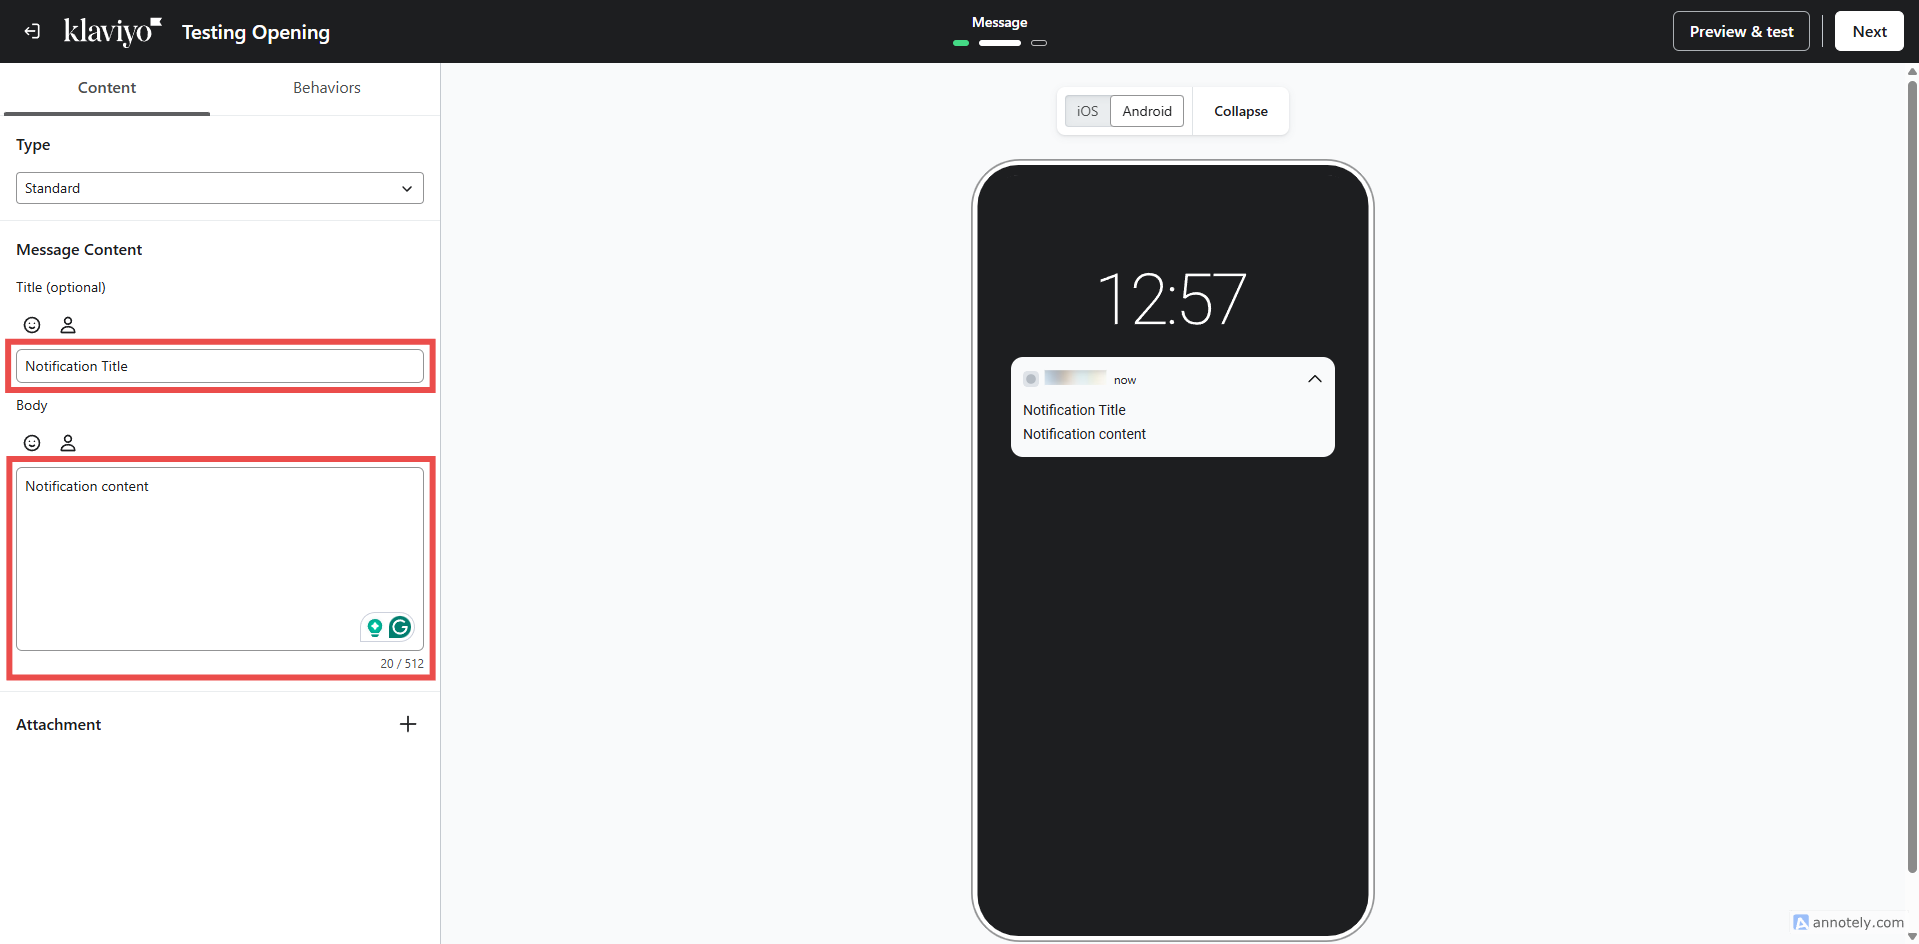
Customize your notification title and content on the left sidebar:
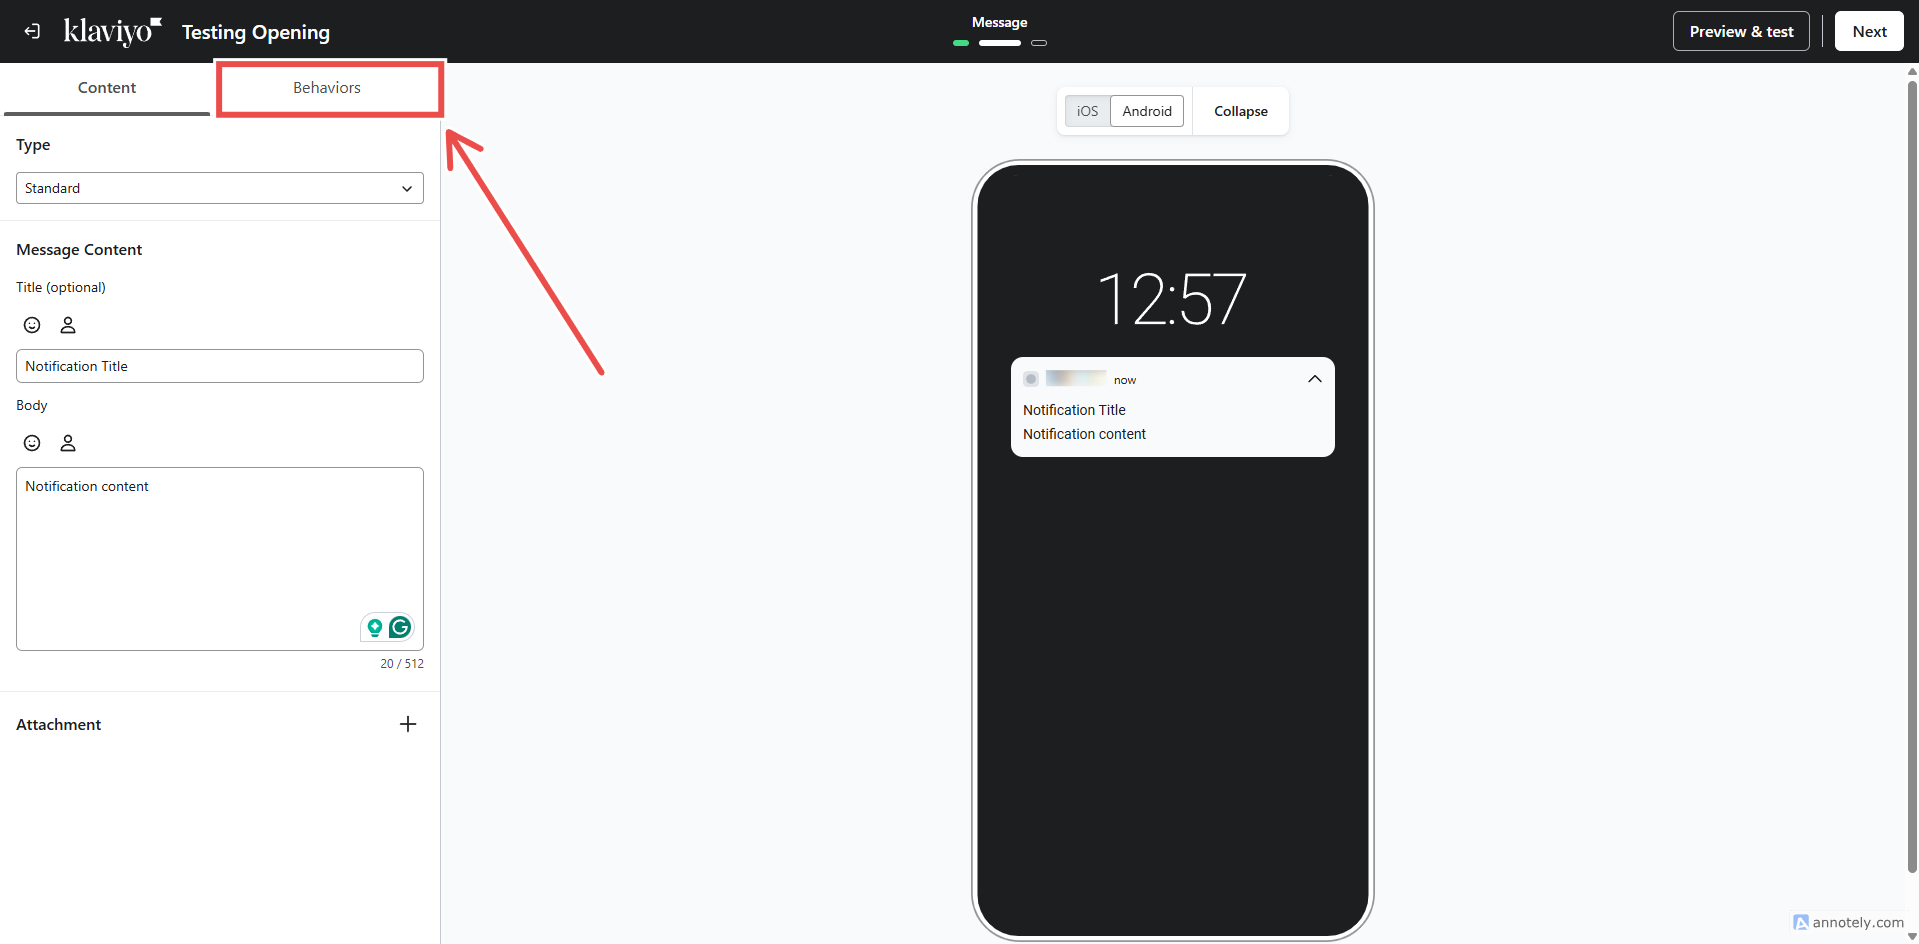
Click on "Behaviors" on the top left:
Make sure "Open App" is selected as the "Open Action" for your notification then make sure that:
- "Show badge count" is enabled and set to "Add 1 to current count"
- "Play sound" is enabled
Now enable the "Custom data" option, and two new fields will appear, fill them as follows:
- "Key" should be filled with "url"
- "Value" should be filled with the URL that should be opened when the notification is clicked
Here is an example:
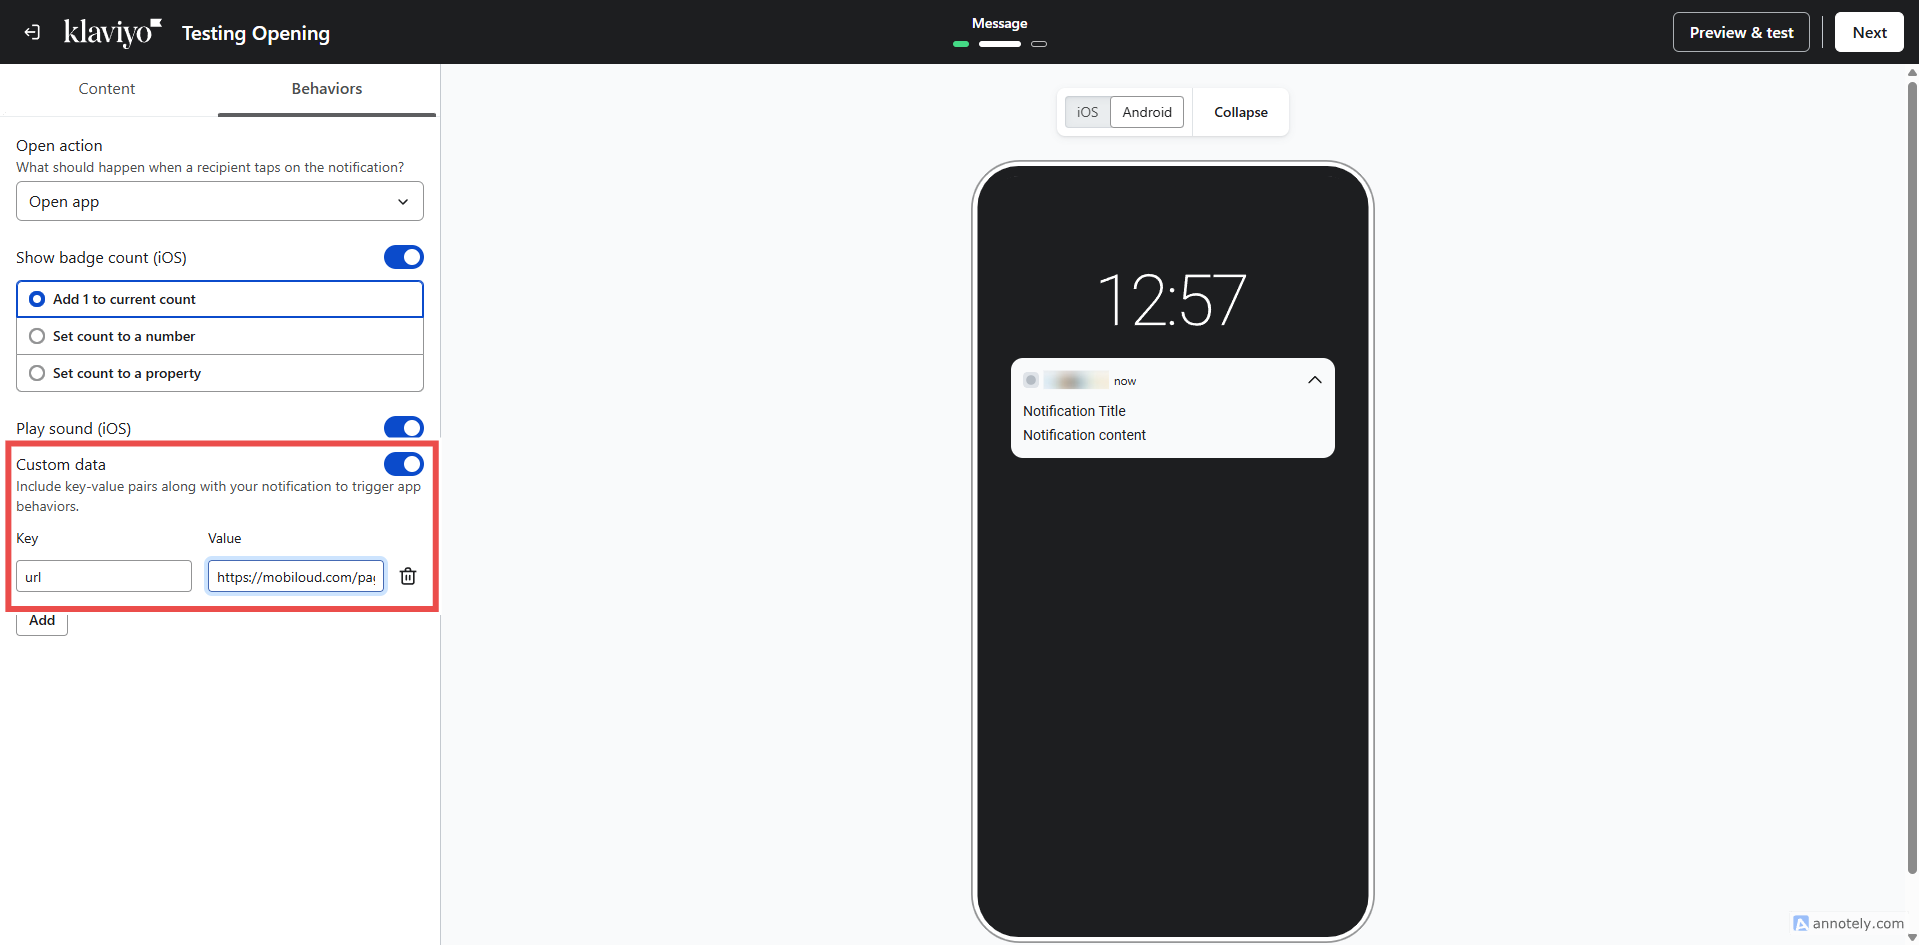
This step is very important to make sure a specific URL opens when the notification is clicked.
Make sure to use "url" all lower case for the "Key" field, otherwise this won't work.
Click on "Next" on the top right area:
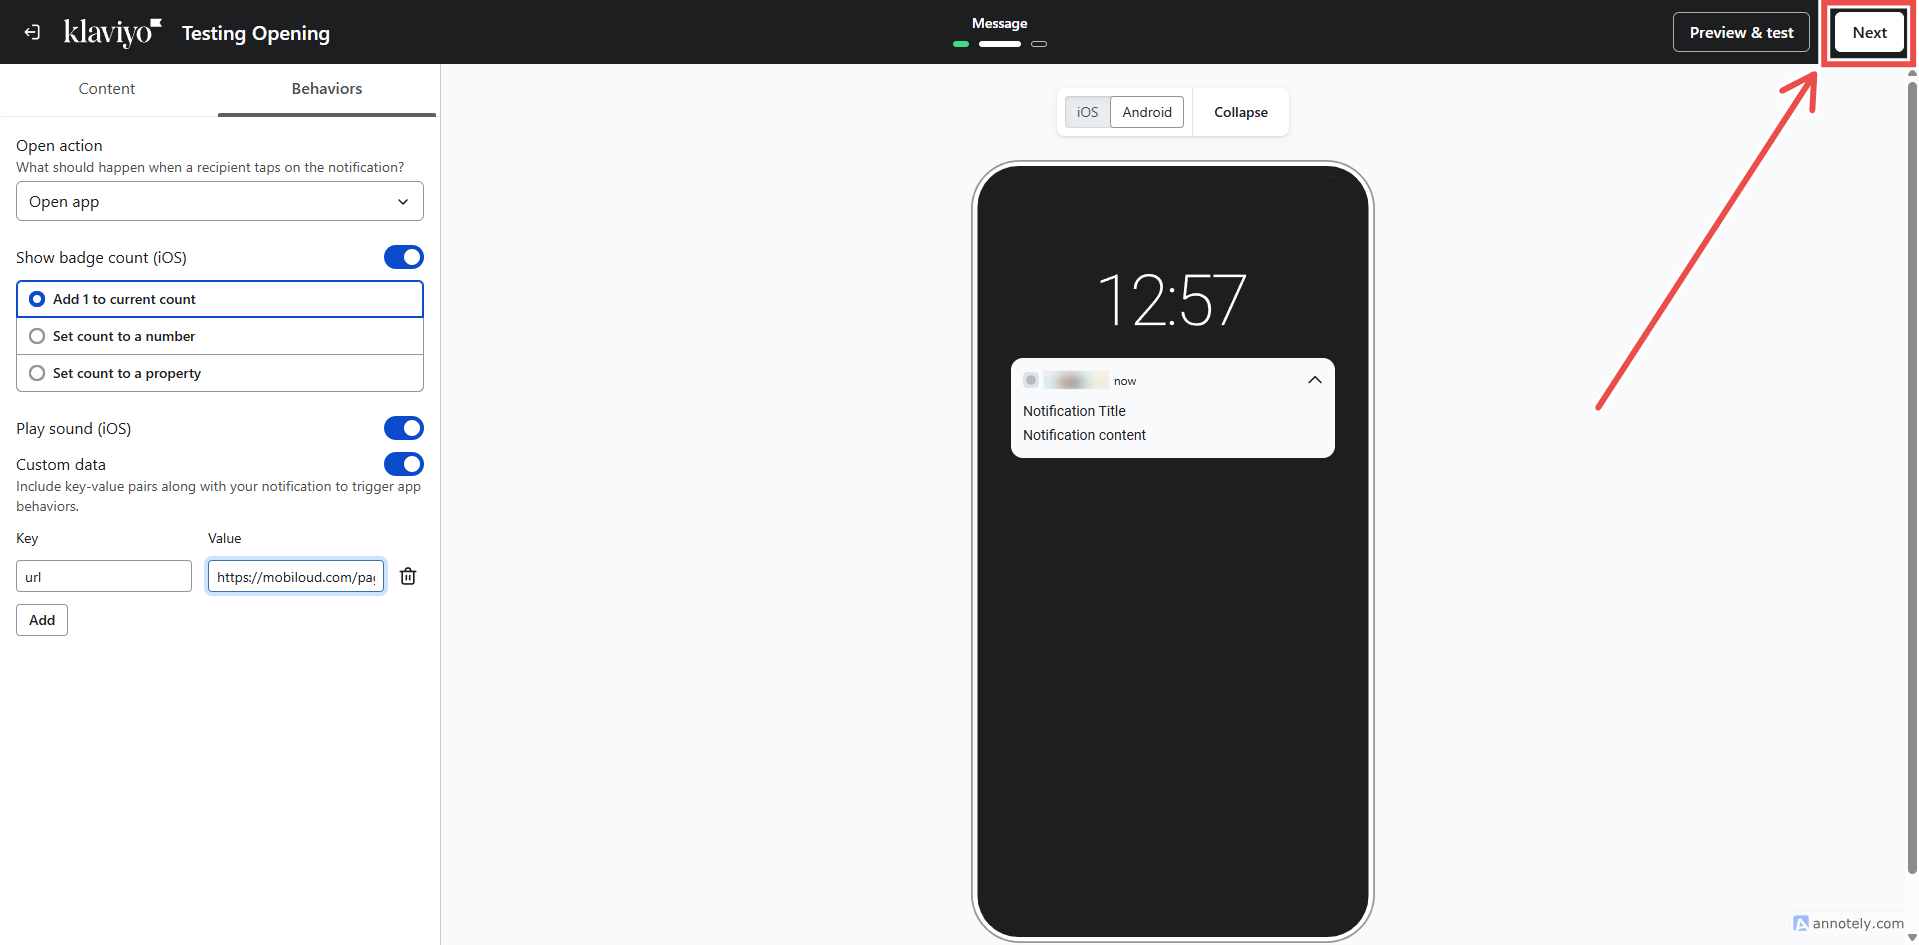
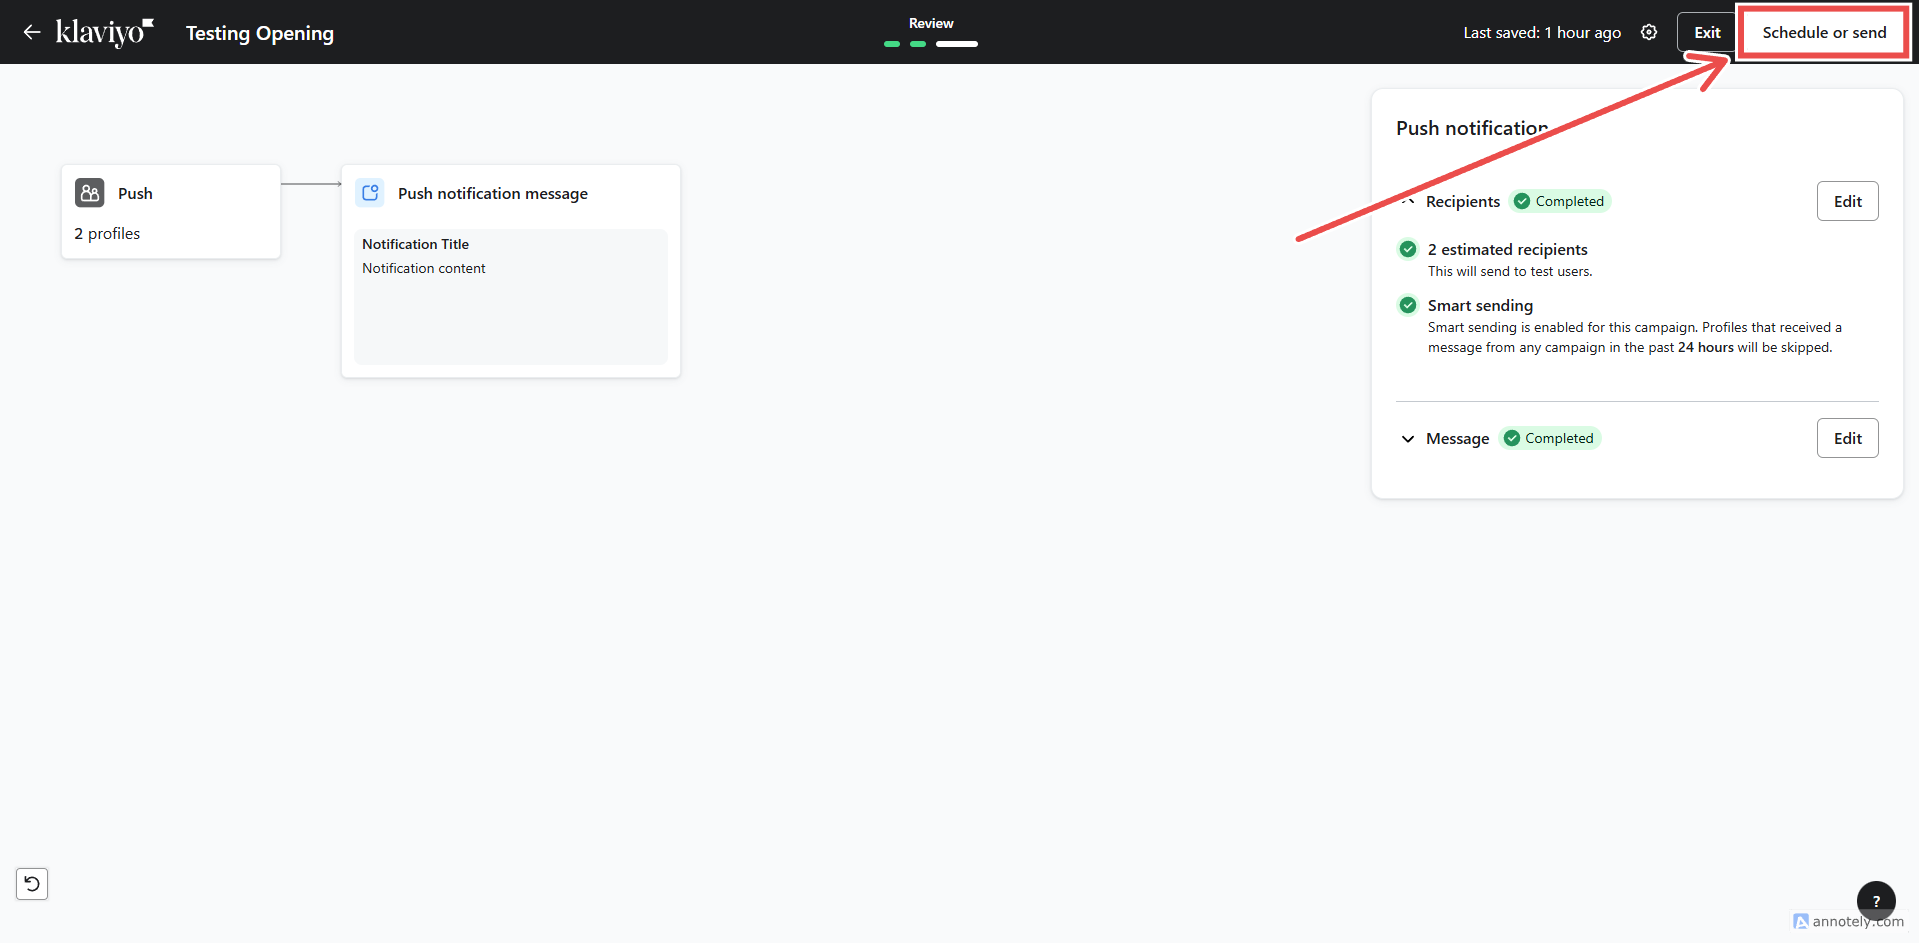
Make sure that all details are correct, and click "Schedule or send":
Select "Send now" to send the notification immediately:
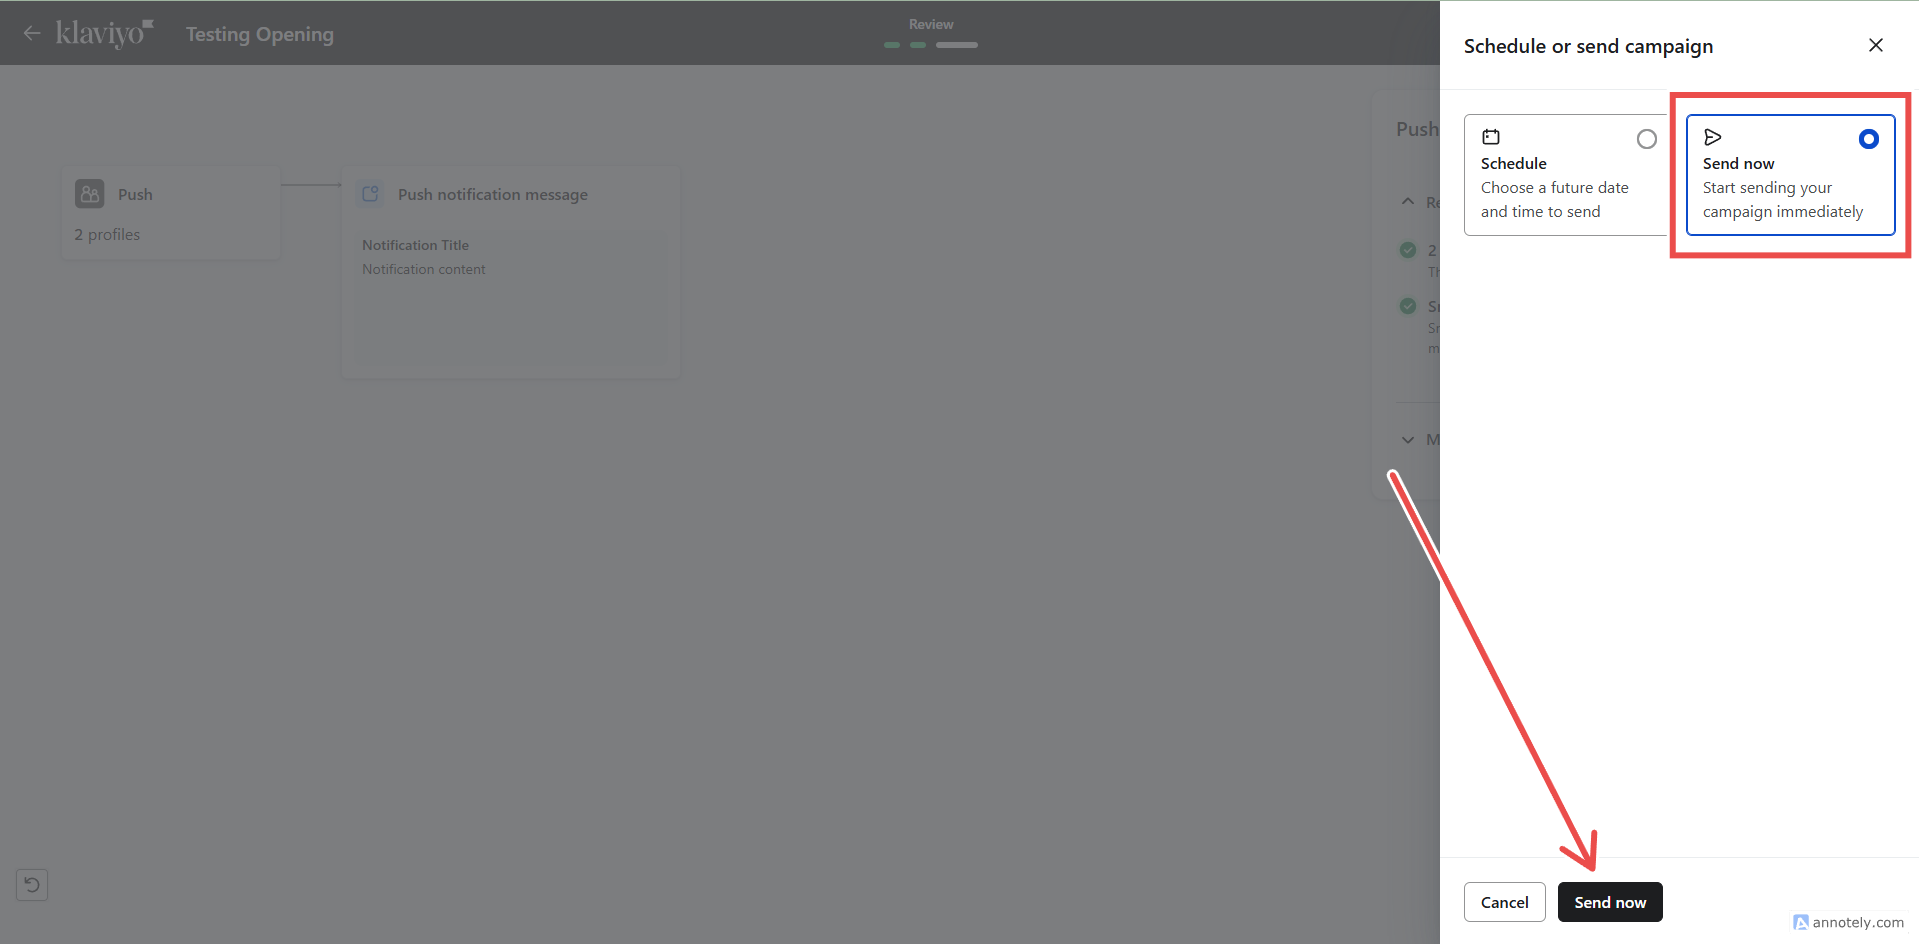
You are done! Note that even when using "Send now" Klaviyo might take a few minutes to deliver your notifications.